Monday, 8 July 2013

The silver flowers........


We have a beautiful card in the shop that Jill made using some of the new Spellbinder dies. It is a very simple card and it looks gorgeous. Jill has posted the instructions on her blog on how to make this card using the dies and the embossing mats.  Great post Jill.

The dies used on the card in the shop (Lily of the Valley and Blue Bells) and the embossing mats will be available in the shop when they arrive from the supplier on Monday.


Asters and PoppiesBlue Bells and Lily of the Valley

Silver Die-Cut and Embossed Flowers - Instructions


Many of Crafty Capers' customers have asked how I made the pink, silver and white card on display in the shop near the Spellbinders dies. *Note - my own dies differ from the set used in the shop.

Die-cutting Techniques for Pink and Silver Die-cut Flowers Card 
Requirements - In addition to the pink and silver cardstock and Spellbinder dies, you will want
  • Post-it notes
  • Waxed lunch wrap
  • Baking paper

Die-cutting Basics
For dies with narrow or intricate areas, we have found best results using
  1. a layer of waxed lunch wrap against the cutting edge of the Spellbinder die,
  2. a layer of baking paper over the waxed lunch wrap
  3. your cardstock (textured side towards baking paper)
Asses your die-cut from behind after the first run through the BigShot (or Cuttlebug). If necessary move to another area on the plate and re-run through machine. Repeat if reqired. (If you have seen 'Madagascar' think like a lemur - "I like to move it, move it").

Note from Jill  - I use a BigShot die-cutting machine at work and at home.  If you are using a Cuttlebug check manufacturer's instructions for plate combinations and no. of rubber mat/s used for embossing.

Instructions
Use sample die-cut shapes to design your layout.


Use the sticky part of a Post-it Note to anchor the die in place for the first cut on the pink card. I have left the layers of lunch wrap and baking paper inside the die from when I cut my sample shapes and they are kept in place throughout the cutting stages on this card.


Run pink layer with attached die through the die-cutting machine.
Reposition the die, adhere with a Post-it note and run layer through machine again.


Apply double-sided tape to back of pink layer. 
Adhere pink layer to silver layer.

Re-seat the die in the first cut-out area of the pink layer and adhere firmly with a Post-it note.
Place this layer face down on the Multipurpose platform. The smooth surface of the die will be against the platform.


 Lay rubber embossing mats over the back of the silver layer (It looks white on photo).


 Add the three thicknesses of card as a shim, and ONE acrylic plate. Run this through the BigShot to emboss first flower on silver layer.


Reposition the die over the second (unembossed) cut-out area on the pink layer and adhere firmly with a Post-it note.


Place layer face down on Multipurpose platform.The sample shape on photo indicates where the die is underneath this layer.

 Lay the rubber embossing mats ONLY over the area with the metal die under it.
 Add card shim and ONE acrylic plate only over rubber mats, and run through the machine
.Remove die and adhere ribbon across the layer adhering the ends behind the layer.


Complete your card by adding a bow and adhering to a white card base.

Sunday, 7 July 2013

Birthday cards

This display has been up in the shop for a few weeks now and has been very popular. 

We used 8 different papers from Doodlebug all based on the birthday theme. Each print came in male and female colours.

There are some fancy folds in there and all but 1 of them (the first one) fit into a standard envelope.

Other items used to decorate this card include Stamp It stamps, Doodlebug stamps, Kaiser flowers, pearls, rhinestones, Staz On ink, Versamark pens and Scalloped Oval dies.

Below are the unmounted rubber stamps that we used from Stamp It. These stamps are available in store now.

Woodmount StampWoodmount StampWoodmount Stamp
Woodmount Stamp


Sorry about the blurry photo, I took and many different photos and just could not get a clear one.


Thursday, 4 July 2013

Couture Parisienne

We have a great stamp that we have used in the past.  It is called Couture Parisienne and it is an unmounted rubber stamp.   Jill and Shirley have done some more amazing samples using this gorgeous stamp from Stamp It.  Products used on the card below include ribbon, rhinestones, glitter paper, black and white embossing powder and staz on ink.  All of these products are available in store.


Woodmount Stamp


Spring Garden


Here is another new stamp from Stamp It.
 
See what Jill has created with the Spring Garden stamp below. She has used Sizzix Dies, Staz On ink, rub ons and rhinestones on these creations. This stamp is a rubber unmounted stamp which can adhere to an acrylic block.
 
Make sure you have a look at the samples when you come in.

Woodmount Stamp


Monday, 10 June 2013

Liquid Pearls and Gelly Rollers


All of the stamps featured below are rubber wood mounted stamps from Penny Black and are currently in stock.


Colouring in with Liquid Pearls is very easy. Squeeze out a small amount onto a plate. Dip your brush into water and squeeze out the excess. Dip the brush into the Pearls and start painting. 
There are 30 different colours in the collection of Liquid Pearls.


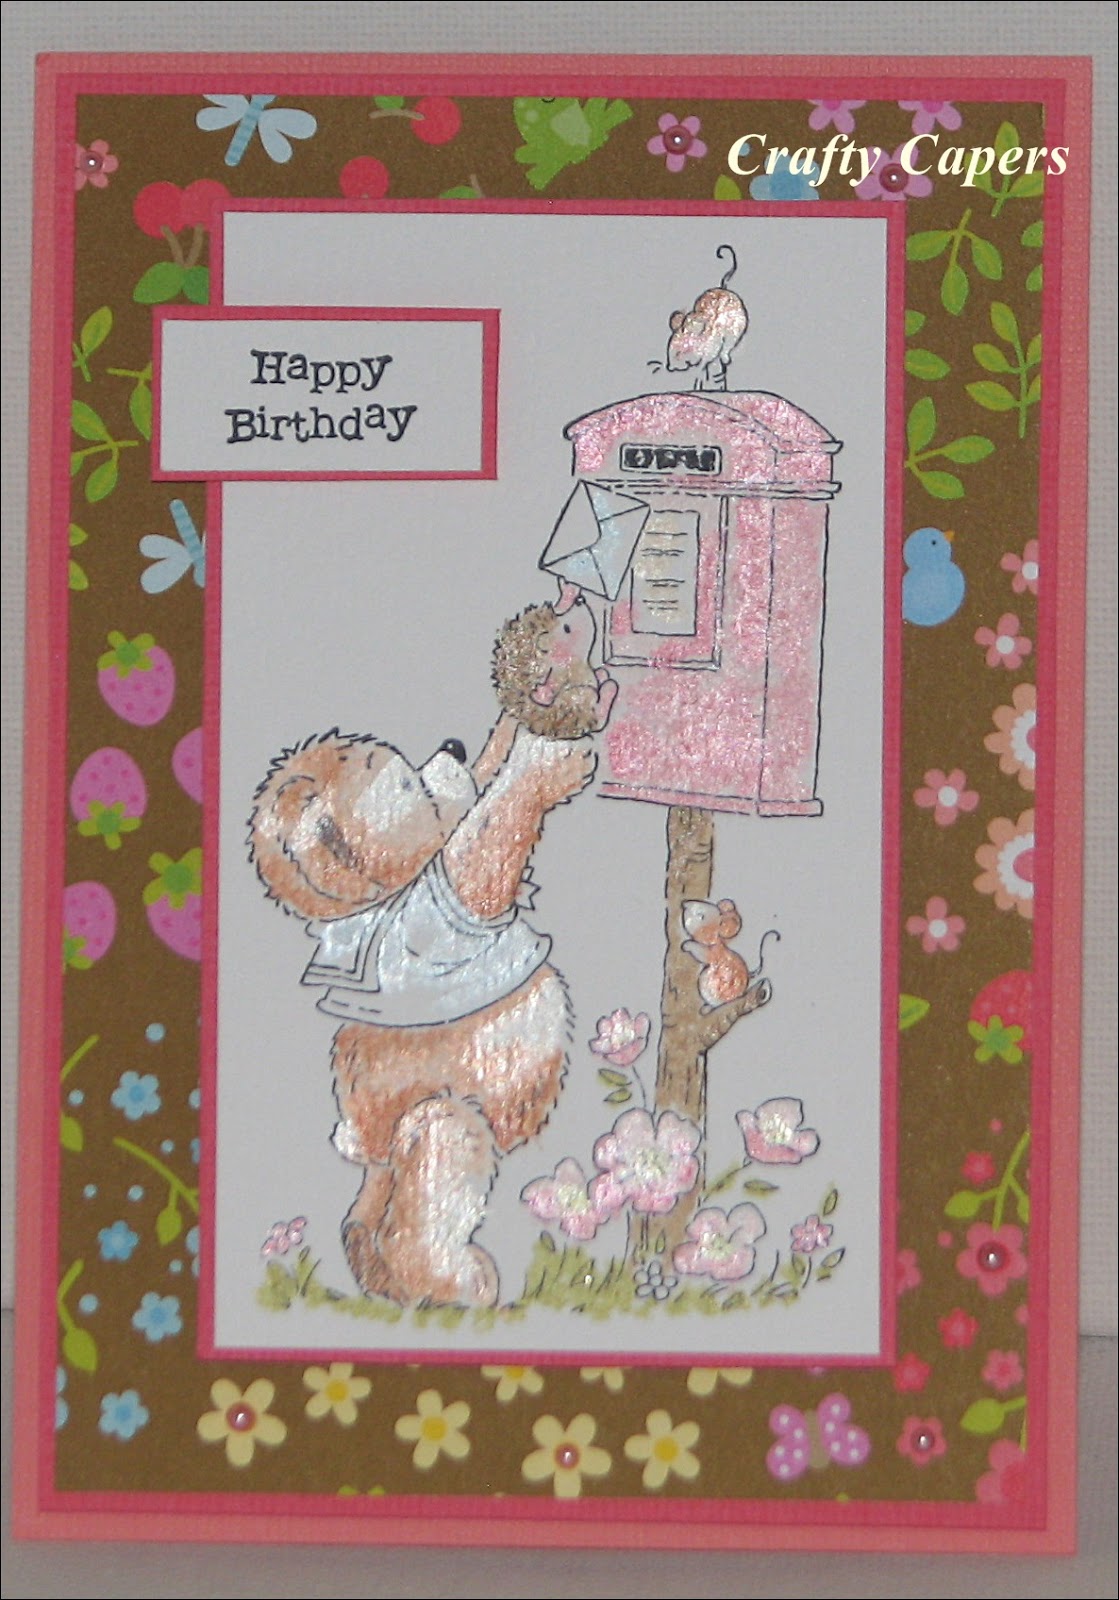
Team Effort is the name of this Penny Black stamp and it is so cute. Jill coloured the image in with Liquid Pearls and it was stamped with Jet Black Staz On. It also features a Stamp It Happy Birthday stamp.

Self Cling Unmounted Stamp


The Team Teddy card also features the Birthday Jump stamp from Stamp It. This image has also been coloured in with the Liquid Pearls. We have also used a Stamp It balloon stamp that we are using on a current display on this card.


Amongst the Stars features the the Happy Birthday stamp which we like to use as it is a handy little one to place on a card without taking up too much room. We have also used the birthday brads which we have in stock and lots of colours to choose from.


By The Cartful was coloured in using the Pearls but the image was first heat embossed. The images must be either heat embossed or stamped with a non water based ink (Staz On) so that the ink does not run when you apply the Liquid Pearls.


Bearing Gifts was coloured in using  combination of Pearls and Tombow pens. The image was first coloured in with the Tombow pens. Then a wash of Bisque was put over the teddy and the flowers were coloured in with the Pearls. This image was also heat embossed.  


Shirley coloured in the image above. I love the way Shirley combines the products when she colours. On the image above she has coloured most of the girl with Spectrum Pens, used Tombows
on the smaller sections (like her shoes), put metallic streaks through her hair with the Gelly Rollers (metallic gel pens with flicks of silver in the ink) and on the candle and even used a bit of Aqualip pens in there as well on the cake . 


Tete-a-tete has been coloured in just using Gelly Rollers. These are gel pens which have flecks of silver in the ink. The silver flecks show up really well in this photo. 

All of our Penny Black stamps are on special.

Friday, 7 June 2013

Wording stamps

These new release rubber wording stamps from Stamp It have been very popular since Jill made up the samples below.


A5 Self Cling Unmounted Stamp Set


She has used Spellbinder dies, Crate printed paper. Kaiser Mini Blooms and Black Sparkle embossing powder  to create these lovely cards.


All stock used on these cards is available in store now at Crafty Capers.

Thursday, 6 June 2013

In A Dream

The stamp below is from Stamp It and is called "In A Dream".  
We have featured it previously on a display and here are a few more cards that we have made with it.

Woodmount Stamp


Shirley's card features the stamp embossed in black. It is then layered on red card and black glitter paper.  The rose is coloured in red and had Glossy Accents on top of it. To get the ribbon Shirley has layered 3 different ribbons on top of each other.


Jill embossed the image in silver and black embossing powder.  The silver paper at the bottom of the card is from the 12" glittered paper range that we have and now comes with a print on it.  There are 2 different ones in stock , both in silver.


Tuesday, 4 June 2013

Have you used your stamp yet?


Have you used your stamp that you got free with the February issue (#37) of the Do Crafts magazine?

Elvery has and she made this lovely card feaured below. 
She has combined black stardream card, silver stardream paper (that she has embossed with an embossing folder), silver foil board and silver embossing powder. 

It looked amazing so I just had to take a photo of it and share it with you.


Saturday, 1 June 2013

Thank You!

Thank You to all the customers who came in to wish us a 
"Happy 10th Birthday"
We has a fantastic few days of celebrating. 


Jewelleen made Jill and I a party hat each for our 10th birthday. They are so cute. She cut them out on her Zing machine.


Dot made us this lovely card using the art deco range from Do Crafts


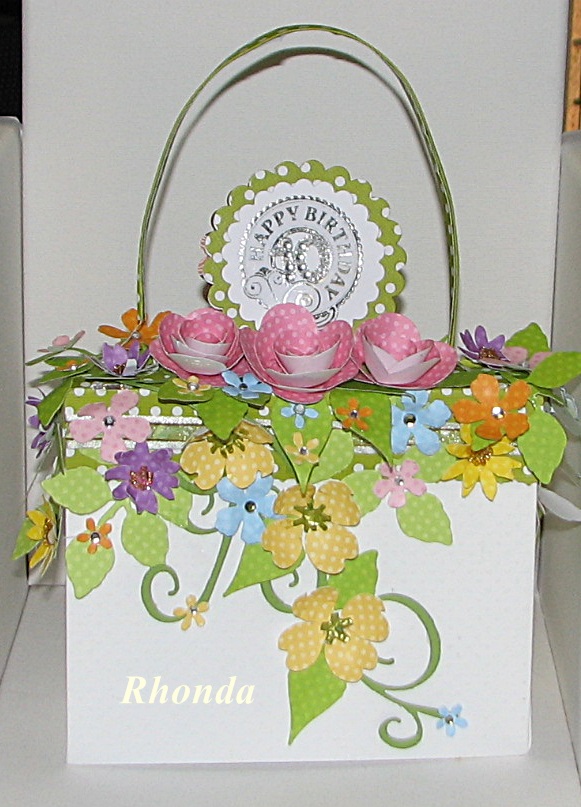
Rhonda made this stunning bag. It is the bag that was featured in the April Do Crafts magazine. She has added a lid on it so it does not open and put lots of lovely flowers onto it.

Thanks to all of the customers who made something for us. 
They all look fantastic and Jill and I really appreciate you taking the time to make something for us.
The display is still up s make sure you pop in for a look what what has been made.