Showing posts with label boxes. Show all posts

Sunday, 13 May 2012

Happy Mother's Day

Happy Mother's Day to all of my lovely customers.

As you can see we are still making more of the wonderful spring boxes. I made up this box to give to my Mum on Mother's Day . The flowers were stuck to the acetate/clear film using Glossy Accents. Diamond Glaze, Glass Finish + Dimensional Magic can also be used for this. First I put a blob of Glossy Accents on the back of each flower and let it dry. Then put another blob onto of the first blob and lay the thin strip of acetate in place. I wanted this box to appear like a bouquet of flowers which is why it has so many in it as well as a lot of ribbon. It can fold down and go into an envelope but I gave it to Mum in a box.


As most of our boxes have been flowery and pretty, Jill decided to make one for the boys. She adhered the sticker of a sailing boat to a piece of acetate/clear film and trimmed around the edges of it and attached it to the piece of cover board that sits inside the box.


Here is another box that Jill made for her sister. She used similar colours that we had used on our original class sample. She finished it off by using cream pearls in the centres of all of the flowers. 

She also made a matching card . The box was folded down and put inside the card which made it much easier to slip into the envelope.  
The next two boxes have been made by our customers. Jacqui made this gorgeous black, white and silver box using the Doodlebug printed paper and matching glittered stickers. The stickers are adhered to strips of acetate/clear film. To stop the backs of the stickers sticking to the box when it is closed, put bicarb soda or talcum powder on the backs of the stickers. It will stick to the areas that are sticky. Jacqui used silver ribbon  in the centre of the box and this made it look very elegant.

Gail also used the Doodlebug paper that we have in the shop at the moment and included layers silver, red and Bazzill Bling (metallic) black. Black, white and red always look stunning together especially when teamed up with metallic colours. Gail used red and silver rhinestones in the centres of the flowers and she finished her box off with a lovely little bow at the front .

What clever customers I have!!!!!!


Tuesday, 24 April 2012

More boxes!!!!!

Here are some more samples of what our customers have been creating. After coming to our classes they went home and created these little works of art.

Kim used the same coloured foliage we used in class but changed the paper and used a Kaiser print - Madeline. The new colour combination gives it a whole new look.

The set of Sizzlit dies from Sizzix that we have been using in our box classes is - Flowers, Branches + Leaves. Don't forget that this set of dies will go through your Sizzix Big Shots machine as well as Cuttlebug machines. We currently have them in stock at Crafty Capers

Flowers, Branches & Leaves Set


Pam made these gorgeous colourful bunny baskets for Easter. I love the variety of colours she has used.


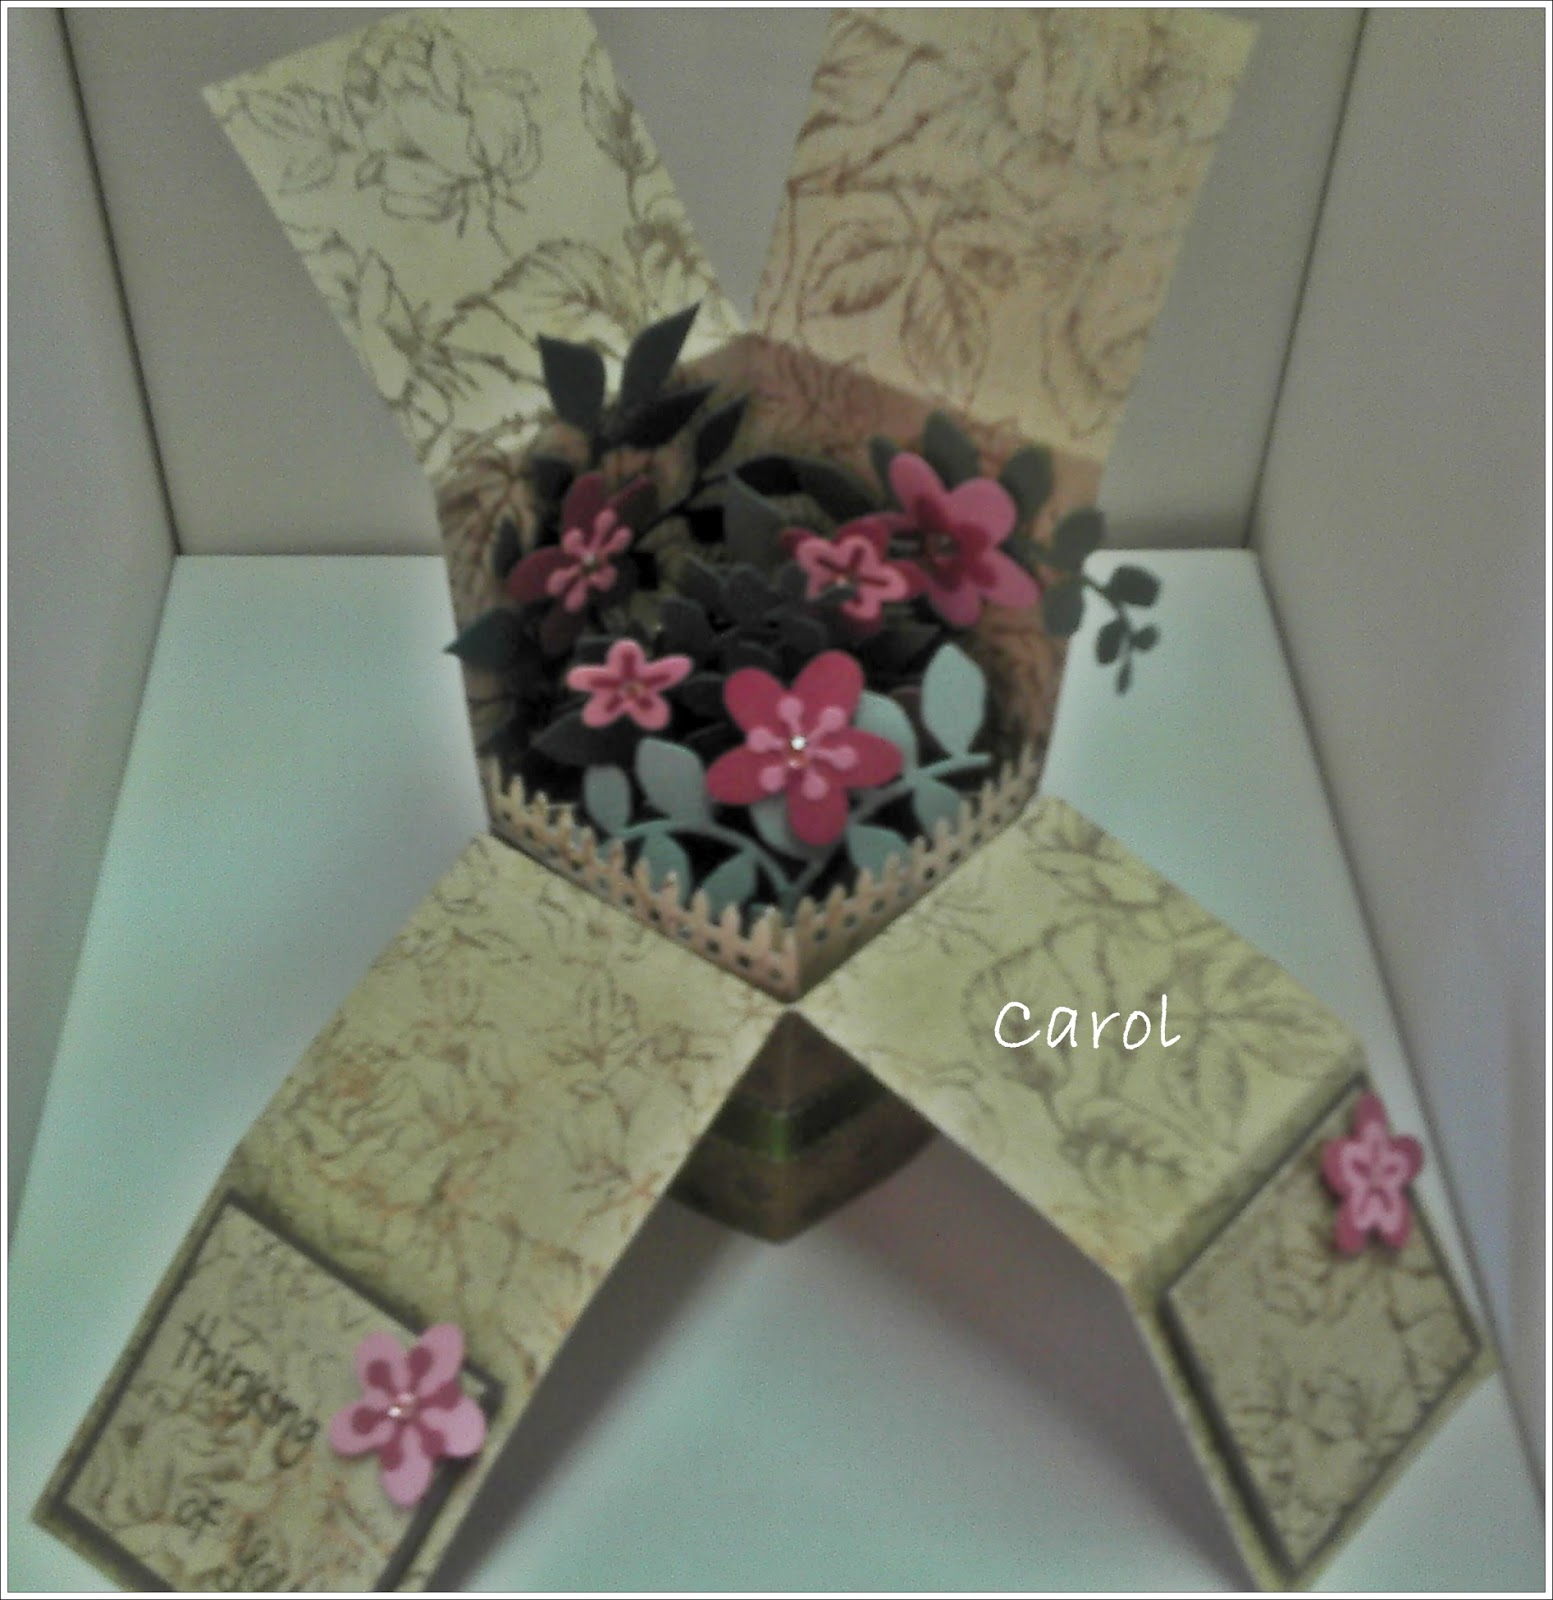
The pink and green ink used on Carol's box looks great together. Her stamped images come from a Stamp It set of stamps which is available from us and in store now.


Rhonda used a variety of punches in her box to instead of die-cuts. The punches along with the Serenity Bo Bunny paper look great together. This paper is currently in stock at Crafty Capers.

Tuesday, 10 April 2012

Die-cut Spring Flower Box


This amazing little creation is out latest class we are running at Craft Capers. 
It ran in March and because we had so many requests it is also running in April. We are putting a total of 80 people through the classes over the 2 months. 
Thanks to our customers for your support of this class and thanks to Kim for the original inspiration. She brought in a box that she had and we created a variation of it using the Sizzix dies.
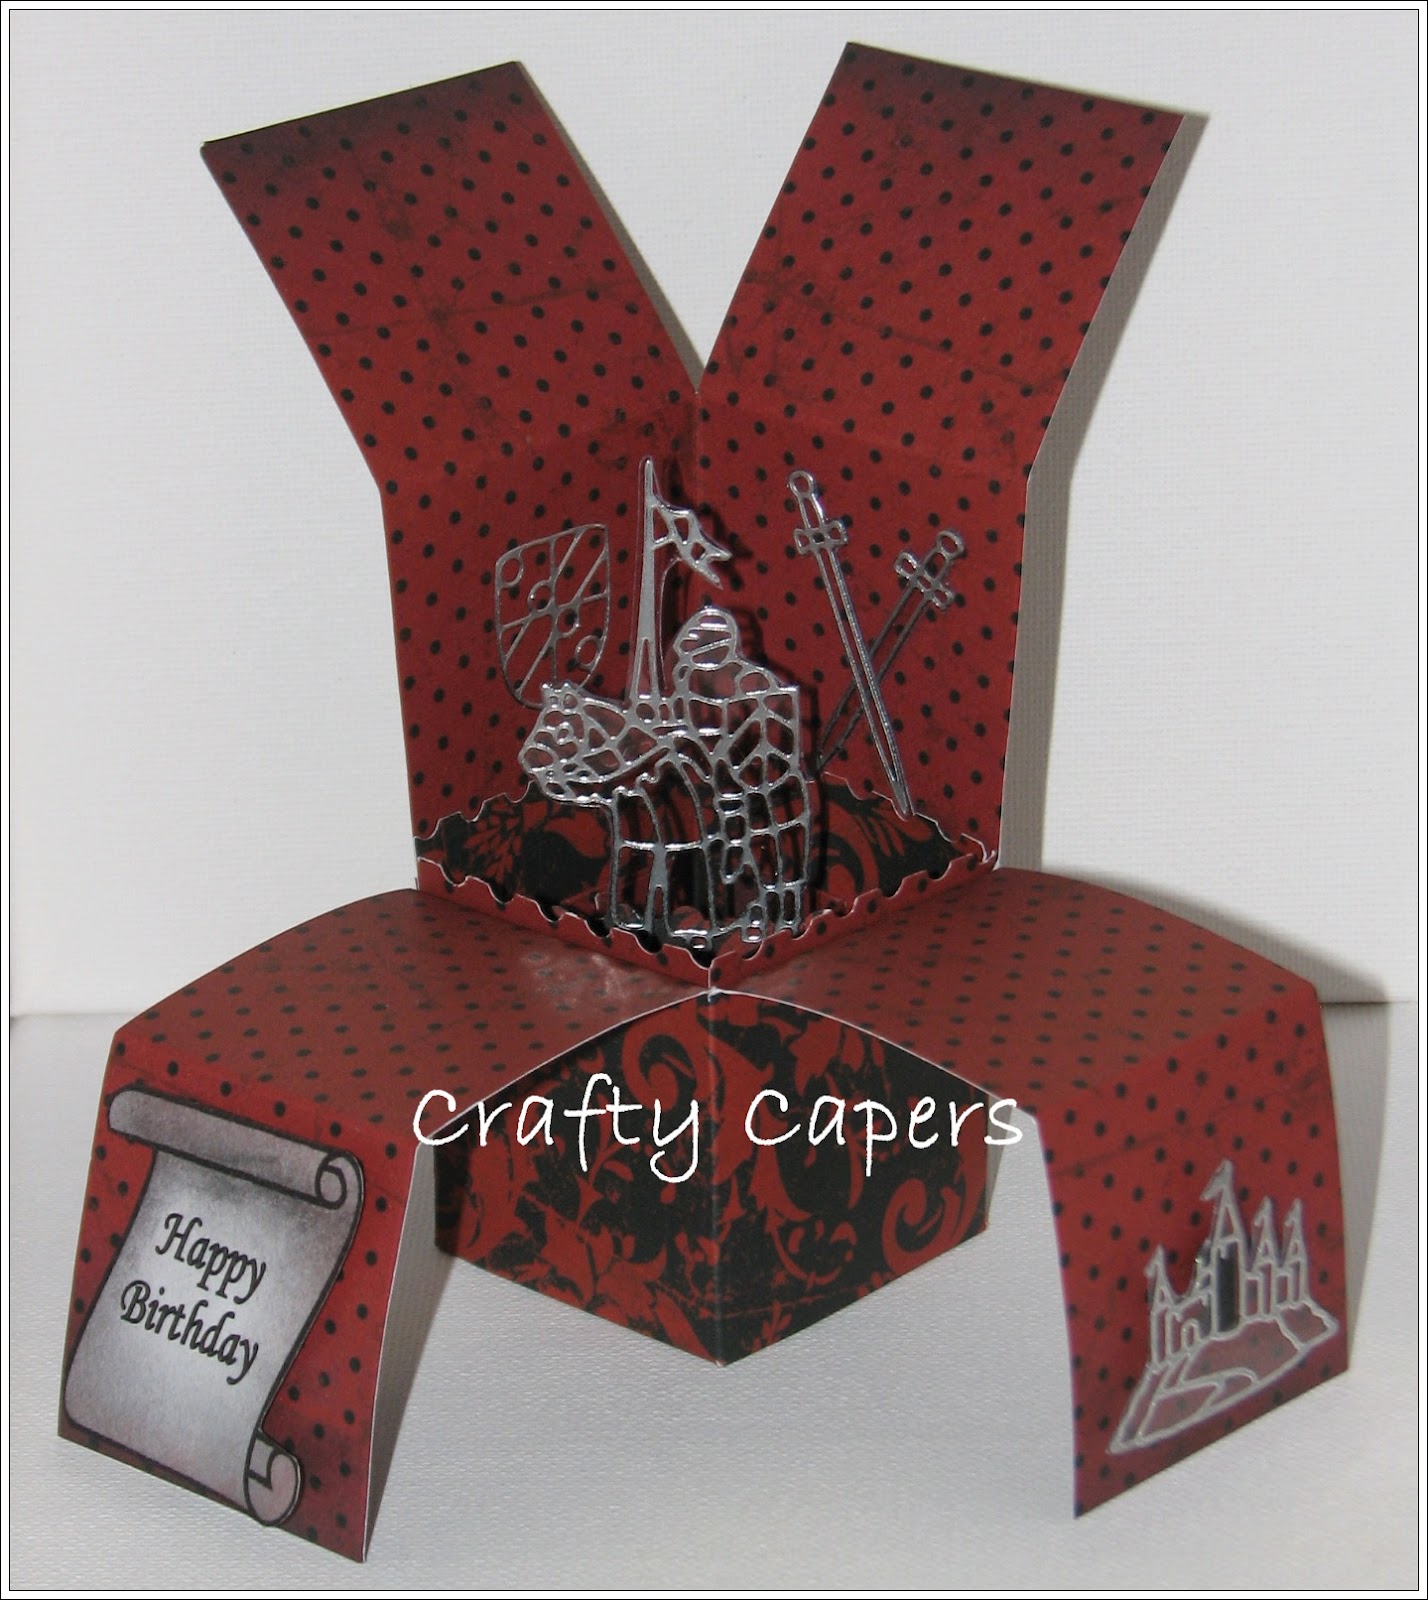
This box can be used for many different occasions, see how we have changed it below.


This has probably been one of the best classes we have done in terms as how smoothly it ran but also by the response from our customers. So many of them went home and made up more boxes and brought them in to show us and sent us photos.
Here is what our clever customers have created after coming to our class.


If you have attended the class and made a box please send us a photo as we would love to add it to our blog.